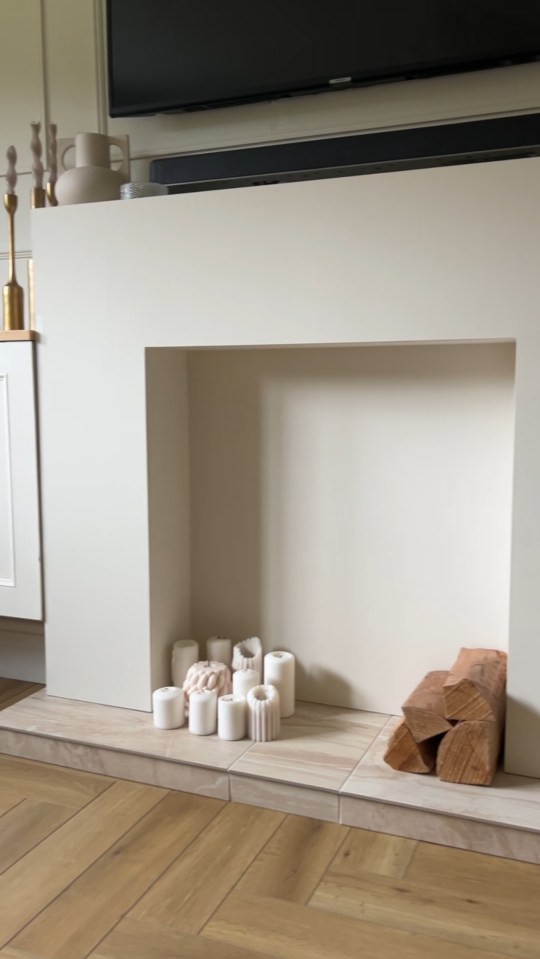
A WOMAN has revealed how she transformed her living room for just £150.
Kerry Kellet, from Yorkshire, was desperate to revamp her fireplace, as when she first moved in to her home, it was incredibly damaged.
Initially, she and her husband Richard, just plastered and painted over the fireplace, but Kerry wasn’t happy with this, as she wanted to create a “focal point in the room.”
Kerry had a vision to create a sophisticated ribbed fireplace and after completion, the DIY project changed the look of her whole front room.
The DIY whizz of @klk.interiors, said: “The project took three days to complete and I’m pleased to say that it was fairly simple too.
“The trickiest part was making sure the template was perfectly cut to size as it needed to fit flawlessly.
“The easiest part was definitely painting the panels, I’m absolutely thrilled with the overall result.”
To make her fireplace, Kerry used ribbed wall panelling, wall panel adhesive, a circular hand saw, a notched trowel, ready mix adhesive some pre-mixed grout, and some primer.
She already had the paint and was gifted the panelling, meaning that the whole project only cost her £150.
If Kerry were to have paid for the work to be done herself, the cost of labour and materials would have been approximately £712.
This means that Kerry saved a whopping £562 by doing the work herself.
Kerry has shared the step-by-step method she used to revamp her fireplace.
Fitting the tiles to the back wall
“We started by adding the travertine mosaic tiles to the back of the fireplace, using a tile adhesive and a notched trowel for an even finish”, she said.
“It was important to start with the tiles as we didn’t want to mark or damage the frame or panels.
“We chose herringbone tiles as we wanted the shapes to contrast with the vertical, clean lines of the panels. This helped to add depth and made the fireplace really stand out in the room.”
Creating a template for the panels
Kelly continued: “We then carefully measured the front of the fireplace to create a template for the mini ribbed panels, before cutting the panels to size. The panels are made of MDF which made them super easy to work with, using cordless circular saw for an accurate cut.
Eight Easy DIY Tips & Tricks
The ultimate guide for homeowners and renters:
“We repeated this process for the internal edges of the fireplace, including the top edge.”
Securing the ribbed panels
“It was then time to secure the ribbed panels to the front of the fireplace, using a high-performance adhesive. We left this to dry overnight.”
Grouting the tiles
“The following day, we grouted the tiles on the back wall of the fireplace. We used a pre-mixed grout with a tiny drop of beige paint mixed in to create a neutral finish that complemented the overall feature and colour scheme of the room.”
Priming and painting
“We primed the MDF panels using a wood primer and left this to dry. Once dried, it was time to paint the panels in our chosen colour.
“We created a beautiful, earthy beige hue by mixing two Lick paint colours together; White 03 and Beige 02.”
Framing the fireplace
“We decided to add a frame to the outer edge, on top of the fireplace, as we felt this added a nice finishing touch. To do this, we used 9mm MDF and blended it by painting it the same colour as the panelling.”
Sharing her top tips for anyone thinking of doing a similar project, Kerry added: “Before you start any kind of DIY project, check to make sure you have the correct tools for the job. A circular handsaw came in very useful for this project and, although it would be possible to do it with just a handsaw, it would be a little more tricky.
“I’d also recommend checking the off cut section of your local hardware store as I was able to purchase the 9mm MDF for the frame from here. You can usually find a great bargain!”
